Monday, 4 April 2011
Sensory Area Deep Space Background
The Deep Space Background area will take up two thirds of the main mural directly above the foreground images of views from earth. My intention is to make it as bright & textured as possible. See coloured image example which directly follows this post. It is to include a mixture of media e.g. watercolour, acrylic, acrylic ink, stick on stars, glitter dust to make it bright & interesting. The background will feature a large bright smiley Sun in the top right corner. The inner planets, Mercury, Earth, Venus & Mars. The asteroid belt. The outer planets, Jupiter, Neptune, Saturn, Uranus & Pluto. There may also be comets, stars, galaxies various characters, rockets etc depending on those chosen to be printed on 5mm Foamex. To add to the sensory effect it was hoped that the projector currently not being used in the Butterfly area could be moved to the sensory area to project light shape/images on to the mural. If this is not possible a cheaper alternative may be if we were to be able to have holes drilled through the mural by the printers through which Christmas lights could protrude to provide an impression of stars. I am not sure if this would be agreeable & meet health & safety requirements but it is an option. Deep Space Background images will follow this post.

Thursday, 31 March 2011
Sensory area Foreground images Views from Earth
 Sensory Areas "views from Earth" (lower left hand side) of mural see above.
 Nurse showing young patient the stars.
  Owl with young chicks watching over child & nurse.
 Ducks Quacking.
 Children holding hands.
Children playing.
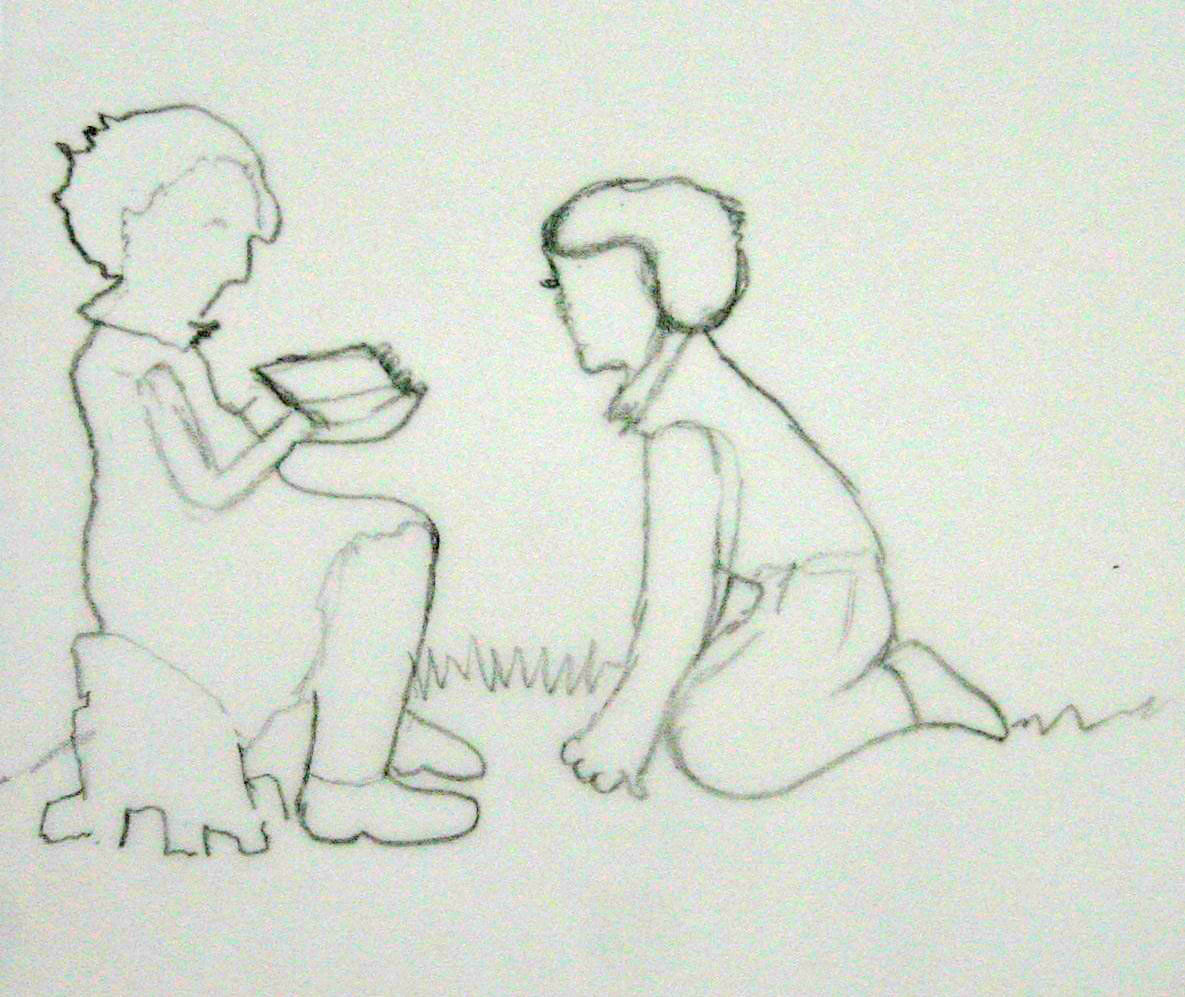 Children sharing.
 Mum & child receiving gift of a beautiful flower.
 Young person with physical challenges being helped by a nurse.
  All children should be able to have dreams, to reach for the stars. The paralympics provides great inspiration for us all.
 Father & Son gazing at the stars.
Sensory Area Foreground Views from Earth Left hand side work in progress (see above). Beach Scene. Including "Welcome to Childrens Outpatients Notice" a beautiful Sunset. Views of Children, Dolphins, Meerkats in the middle foreground area representing diversity of life on Earth (See below). Space Shuttles & Radar Dishes on horizon, reference to ET & our wish that patients can go home soon. On the right hand side will be an Arctic scene featuring Icebergs & cute Polar Bears (See below) . Representing our need to care both for patients, wildlife & our planet.

 Children playing with beach ball shaped as Earth symbolising the future of the Earth & our children's future is in our hands.
 Young Girl looking up at Stars Dreaming of her future.
 Meerkat friends looking upwards at horizon.
 Dancing Dolphins in the bay
 ET Going Home on Bike ridden by his friend.
 "Hope you can go home soon" image of ET with banner to be attached to back of bicycle, riding across moon on the horizon.
 Large Radar Telescope Dishes
 Space Shuttle taking off on the horizon.
 Cute Polar bear Cub image
 Cute Polar Bear Cub, back lit looking up to the stars
 Cute Polar Bear Cubs holding their paws out sympathetically. View of icebergs behind representing the different landscapes of earth & also conveying thoughts towards mankind needing to look after planet earth to prevent global warming.
 Sensory Area Mural (Foreground)
This Mural will show in the lower Third views from earth looking towards the horizon & stars. It will include "looking to the stars", a scene on a beach with a nurse showing a child the stars through a telescope. Children playing with a beach ball shaped like the earth held between their outstretched arms. Meerkat Friends in Africa holding each other looking to the stars. Dolphins looking upwards to the stars dancing in the sea. A young teenage girl looking dreamily looking upwards to the stars based around the Walt Disney Quote " All our dreams can come true if we have the courage and determination to pursue them". A scene based on the iconic Et Film image "Going Home" on a bicycle being ridden in sky with the moonlight behind them. On the right hand side will be a some very cute looking polar bear cubs including two holding their paws appealingly and one beautifully back lit. On the horizon will be a strip of Land which goes from scenes of a space shuttle taking off, large telescopes in America, to the polar icecaps. Examples of the art work will follow in the next post.
Wednesday, 10 November 2010
Proctuction meeting for the Sensory Area Mural


The main wall space for the mural is 8 ft 4 inches wide. The height (from top of skirting board to the edge of the ceiling tiles) is 7 ft 7 inches. There is also a side wall which is 5 ft 5 inches wide by 7 ft 7 inches high.
There are two possible options for producing the mural:-
Option 1
Produce the artwork full size using MDF, cut the images manually to sizes to suit. Hand paint using acrylic paint System 3 Daler Rowney & varnish images.
Similar to stage scenery. I could divide the mural into a foreground section (the earth with the telescope, children & moon). A left section (Buzz Lightyear & rockets). A right section (various planets,stars, Dr Who TARDIS etc) . Middle section (Galaxy). Top section distant space.
The advantages are we can produce layered images & modify the design as the mural progresses. I can amend the perspective/content as we progress. There may be a cost saving.
The disadvantage is the time this may take & the ease of cleaning may not be of the same quality as the specially manufactured images available from the printer.
Option 2
Produce the mural as a painting approx A2 or A1 using any paint medium. This could then be manufactured by the printing company by enlarging it & cutting into various shapes to suit the wall space.
We would need advice from the printing company Chris Waters at Service Graphics Limited in Salisbury (tel 01722 321 736) to determine:-
The size of image I would need to paint that would provide a suitable quality to be enlarged to fit the wall space.
The most cost effective way of dividing/cutting the images.
The advantage would be the quality of the artwork is likely to be greater as the time it would take to produce details on a smaller piece of artwork would be significantly less. The manufacturing & hygienic qualities may be of a higher standard than an entirely hand made product. The disadvantage may be the cost.
Actions:-
I need to produce a more detailed sketch with a more realistic perspective to represent how the finished mural will look, to superseed the current cut & paste image displayed here.
I/we can discuss with Chris the most cost effective way of producing the various images/section of scenery to make up the mural based on the premis of the printer manufacturing the sections of the mural.
Meeting notes:-
After meeting with Abi an ideal way of proceeding may be to have the background of space printed on material & a combination of MDF & printed material to give a 3D effect to specific images. The overall size of the panels are to allow approx 6 inches clearance all round i.e. top, bottom , left & right. No 3D images below 3 ft from the skirting board to allow for easier cleaning & to prevent damage. Buz character to be reduced & moved to side panel & replaced by a generic spaceman figure. Establish prefered material types & standard sizes of printed material together with the most effective way to proceed with Chris.
Monday, 4 October 2010
Butterfly Room Details of Walls on which artwork is to be mounted
All of the four paintings that have been chosen have been painted in landscape mode. Copyright of all images are owned by myself Debbie knight. The size of the original paintings varies & the photographic image I will provide for printing varies accordingly. The ideal recommended size of the images to be manufactured is be determined by the printer based on the areas available for mounting on the walls detailed below. We will require a list of the prices for there standard sizes & materials. Together with a list of the cost for each of our different sized images to be produced with materials & a method of fixing will also be required e.g. fixing holes etc.
Ideally we should receive proofs for approval together with sizes of the actual manufactured images the printer proposes to produce prior to production to confirm their suitability with a breakdown of costs and materials provided.
.jpg)
The tiger painting Soulful thoughts is to be mounted on the wall to the left of the staff door. There is a suitable area above the light switch. There is a height between the ceiling and the light switch of 4 feet 6 inches. The maximum width of the wall in this area is 3 feet 7 inches.
There is an area of 3 feet 7 inches in length by 4 foot 6 inches in height to fit the image of the tiger cub painting Soulful thoughts.

The painting of the Savuti Elephant at Sunset is to be mounted on the wall below the window.
There is an area of 4 feet long by 2 feet high of usable space in which to comfortably fit the image of the Savuti Elephant.
.jpg)
The painting of the Orang-Utans True friends is to be mounted on the wall above the television. There is a distance of 4 foot 10 inches from the corner of the wall on the right to the conduit mounted to the left hand side of this wall.
There is an area of 4 feet long by 2 feet high of usable space in which to fit the image of the Orng-Utans.

The painting of the Elephant family is to be mounted on the wall to the right of the seat on which the children have to sit for their blood tests. There is a distance of 4 feet 6 inches from the corner of the wall to the conduit mounted to the middle of this wall.
There is an area of 4 feet 6 inches long by 5 feet high of usable space in which to fit the image of the elephant family.
Ideally we should receive proofs for approval together with sizes of the actual manufactured images the printer proposes to produce prior to production to confirm their suitability with a breakdown of costs and materials provided.
.jpg)
The tiger painting Soulful thoughts is to be mounted on the wall to the left of the staff door. There is a suitable area above the light switch. There is a height between the ceiling and the light switch of 4 feet 6 inches. The maximum width of the wall in this area is 3 feet 7 inches.
There is an area of 3 feet 7 inches in length by 4 foot 6 inches in height to fit the image of the tiger cub painting Soulful thoughts.

The painting of the Savuti Elephant at Sunset is to be mounted on the wall below the window.
There is an area of 4 feet long by 2 feet high of usable space in which to comfortably fit the image of the Savuti Elephant.
.jpg)
The painting of the Orang-Utans True friends is to be mounted on the wall above the television. There is a distance of 4 foot 10 inches from the corner of the wall on the right to the conduit mounted to the left hand side of this wall.
There is an area of 4 feet long by 2 feet high of usable space in which to fit the image of the Orng-Utans.

The painting of the Elephant family is to be mounted on the wall to the right of the seat on which the children have to sit for their blood tests. There is a distance of 4 feet 6 inches from the corner of the wall to the conduit mounted to the middle of this wall.
There is an area of 4 feet 6 inches long by 5 feet high of usable space in which to fit the image of the elephant family.
Monday, 16 August 2010
Images to be displayed in the Butterfly Room
Further to the meeting on 12th August attended by Olivia, Abi & I it was agreed the following images (see below) have been selected for display on the walls of the Butterfly Room. I will shortly check the measurements to make sure of the sizes of the images, to ensure they will fit onto the walls. Abi will then obtain quotes for prints of the images from the suppliers. If this is agreeable we will then be given small proofs to check the quality of the colour match etc to the original art work. There may also be a visit to the printers prior to the manufacture/printing of the art work for installation in the Butterfly Room.
It is also hoped the projector currently not being used in the butterfly room may be moved to the sensory area. It would be useful to see what images it can be programmed to project, as something like the bubbles as per the Julia's house sensory room, would be ideal.


It is also hoped the projector currently not being used in the butterfly room may be moved to the sensory area. It would be useful to see what images it can be programmed to project, as something like the bubbles as per the Julia's house sensory room, would be ideal.


Wednesday, 11 August 2010
Sensory Room Preliminary Mock Up

This is a basic cut out mock up, open for discussion.
.
My intention is perhaps for children to be looking up to the stars in the foreground with nurses holding their hands. A yellow path meandering up the green hill leading to the top. May be with children being helped to climb onto the giant telescope. I would like to include more colourful images for children, themed specifically at COPD. e.g. A rocket with nurses & children on board with a name on its side. Perhaps a rocket being pulled by butterfly's. A nurse or butterfly image made out of stars towards the middle right, larger in scale than that represented currently by the Perseus stars image.
Note:- The images are currently cut outs & the perspective is not as it will be when its drawn up in detail. i.e. certain shapes/images can be made larger / smaller or replaced or relocated, subject to our discussions.
On the wall to the right side of the sensory area we could include a rocket perhaps used as a fun height measuring device for the children, together with Stars alongside to indicate heights or achievements.
The area by the shelf for bookings could be made to look like a moon base, with a store for pens etc shaped like a rocket made out of round plastic tubes.
.
.
My intention would be to group images together on separate sheets of scenery to make it easier to fix to the wall.
.
All edges to be smoothed off, nothing sharp or pointed. Building the scenery up in layers to create a pleasing 3D smooth textured surface, no more than 2 or 3 layers of standard MDF thickness board so it does not create a hazard or dirt trap. I will where appropriate especially at reachable height try to shape all the edges of the MDF with a bevel approx 45 degrees for easy cleaning & to make it harder for children to grip & pull off, for extra safety.
.
All edges to be smoothed off, nothing sharp or pointed. Building the scenery up in layers to create a pleasing 3D smooth textured surface, no more than 2 or 3 layers of standard MDF thickness board so it does not create a hazard or dirt trap. I will where appropriate especially at reachable height try to shape all the edges of the MDF with a bevel approx 45 degrees for easy cleaning & to make it harder for children to grip & pull off, for extra safety.
.
One piece of MDF scenery for the foreground with shapes images glued or screwed (countersunk) in place, nothing sharp or protruding. One for the left hand side, upper area. A similar arrangement to the right side. In the middle the swirling universe image surrounded by images painted or glued in place to give a 3D effect.
.
http://www.clementinetoys.com/
http://www.clementinetoys.com/acatalog/Rockets_Aliens_Space_theme.html
I particularly liked the simple design of the mobiles. The lady in the shop suggested she may be able to offer a discount should we be interested. They at least give us some further ideas which we could perhaps use in our sensory area.
My friends who run an art gallery/framers in Parkgate http://www.%20brownsfineart.co.uk/. Browns fine art have generously offered me some mount board offcuts for free which we can use as templates & as part of a mock up of the design we finally agree on for the sensory area. By using the cut out shapes we can ensure all the images of rockets, stars etc fit the wall space before manufacturing them in mdf.
I have yet to determine the paint & varnish I would like to use subject to your approval. There are a number of acrylic based paints some incorporating ink or metallic (shinny/fluorescent) which may be fun. I have a wealth of kind expertise from my arty friends who are teachers/illustrators etc to help me. Once I have narrowed them down as there are many to choose from I will let you know.
Subject to your approval once we agree the design I would like to purchase the MDF from B&Q near Hedge End Southampton. Charles Watts Way, Hampshire - 01489 779 100. They will cut the MDF sheet (hopefully free of charge for the cutting) into a more manageable size for transportation. I can then use my Dads jig saw to cut the exact shapes we agree on.
B&Q have a website http://www.diy.com./.
The MDF is on
http://www.diy.com/diy/jsp/bq/nav.jsp?isSearch=true&fh_search=MDF&x=23&y=10
Subscribe to:
Posts (Atom)